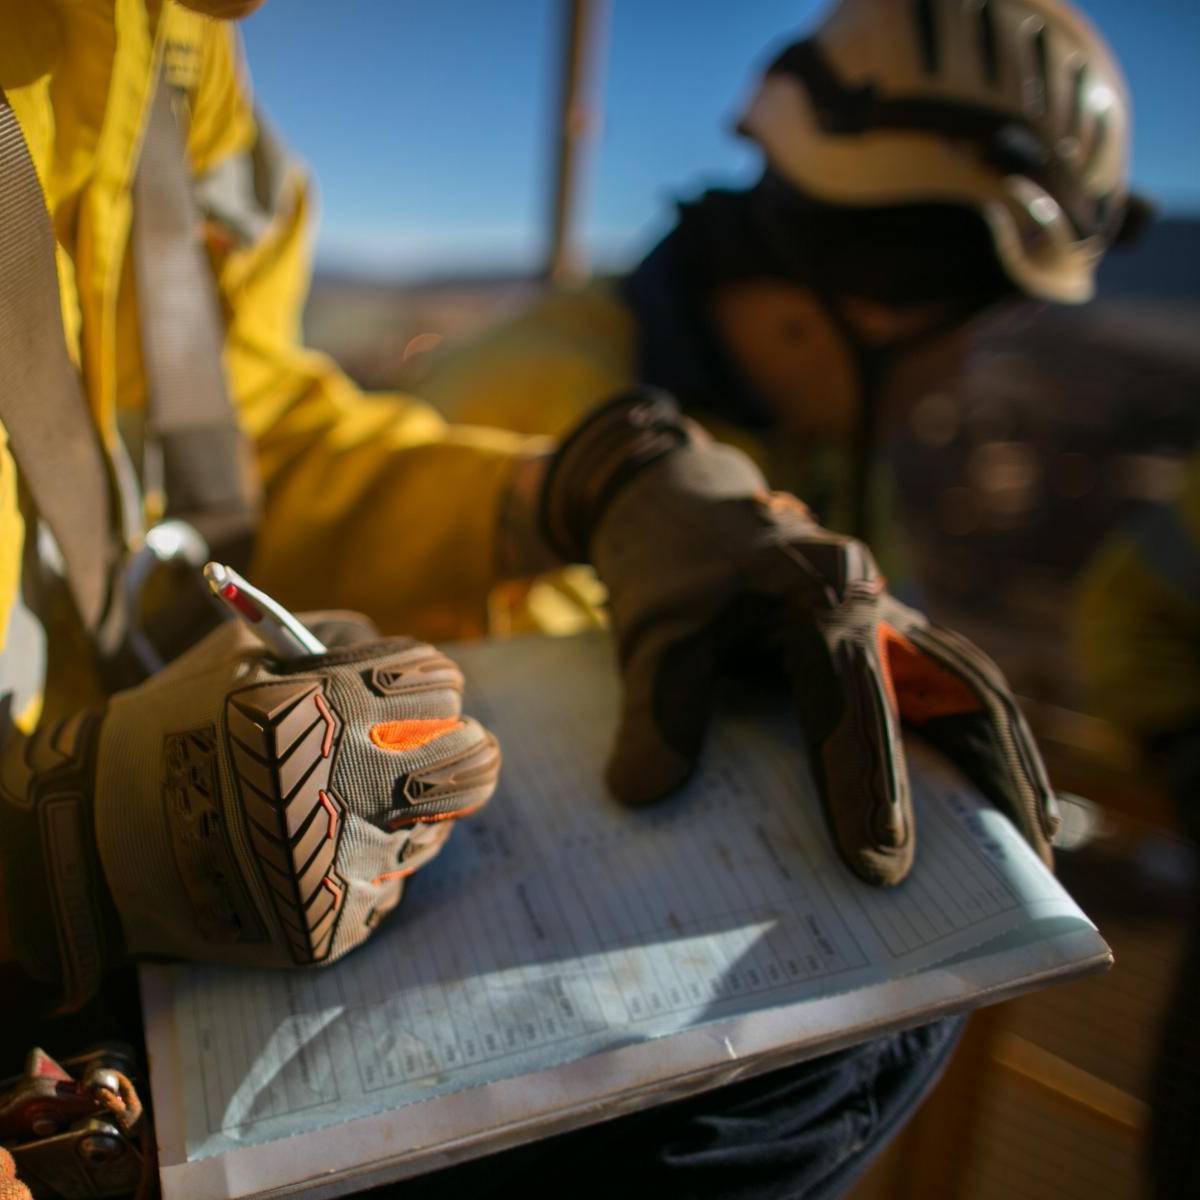
Global’s third party mill, kiln & girth gear risk assessments are focused on avoiding catastrophic failures; providing risk improvement solutions, improved reliability, reduced maintenance costs, increased asset availability, and enhanced safety.
Global’s process provides a concise insight for the maintenance team and insurance industry on the level of exposure being presented by any operation relating to girth gear teeth.
We pride ourselves on being able to provide realistic and tailored risk improvement solutions to assist our customers’ businesses through reducing the cost of risk associated with gear teeth failure events.
In summary:
- Can reduce downtime for mill gear inspections by over 50%.
- Provides Risk Improvement Solutions, Reliability and Asset Optimization.
- Provides more equipment availability.
- Global’s process satisfies insurance requirements.
Risk Assessment Model
This approach provides a complete gear set inspection beyond just identifying cracks
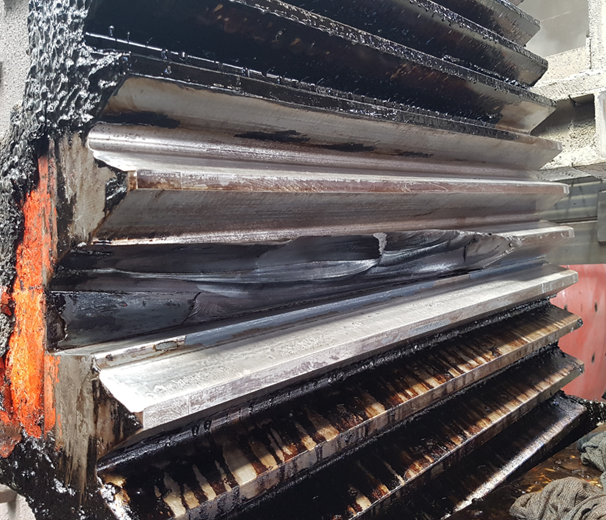
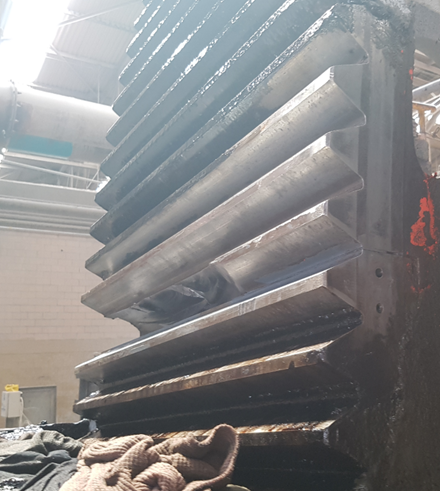
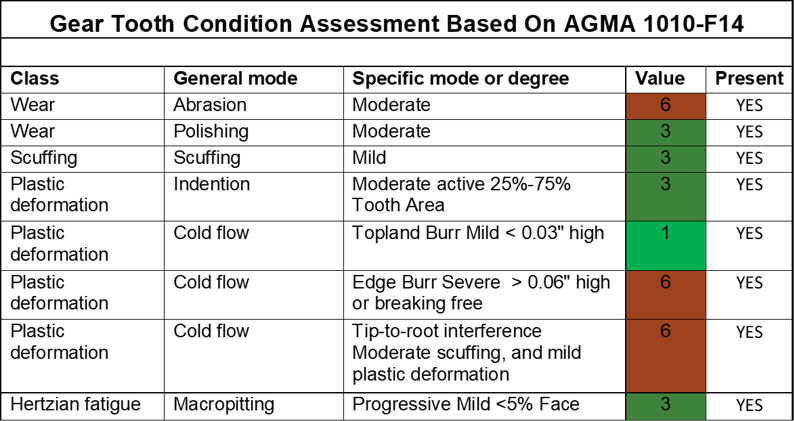
Our on-site risk assessment model, as per AGMA 1010 F-14, is able to provide a comparative measurement of loss probability and consequence. Our extensive database of gear teeth failure modes enables us to provide root cause analysis effectively.
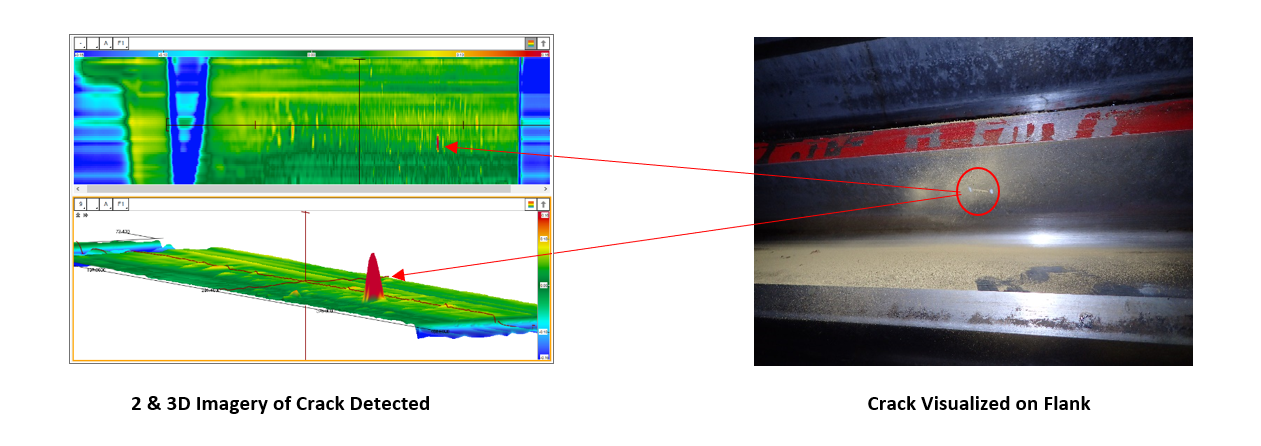
Our girth gear inspection, which includes scanning 100% of both the drive side and the non-drive side flank and root, provides the asset owner a complete non-destructive test of the integrity of the mill gear teeth in accordance with ASTM E2905.
There are two electromagnetic methods that are the basis of ASTM E2905: Eddy Current Array (ECA) – for detection of surface defects and Alternating Current Field Measurement (ACFM) for sizing of any cracks found.
Onsite data analysis for immediate results. If critical indications are found, immediate action can be taken to mitigate operating risk.
If crack mapping is required, we use Phased Array Ultrasonics.
We also include an onsite assessment as per AGMA 1010-F14 of the failure modes present, if any, their severity, and how these might impact the operational function of the mill.
All this satisfying maintenance, reliability and insurance requirements.
Mill Gear Inspection Deliverables & Benefits
Deliverables
- We provide a complete non-destructive examination of the integrity of the mill gear teeth in accordance with ASTM E2905, for macro-pitting and cracking
- We can clean a girth gear set in under 1 hour and inspect the same in under 9 hours; saving valuable downtime and increasing production revenue
- We also provide an onsite failure analysis as per AGMA 1010-F14 of the failure modes present, if any, their severity, and how these might impact the operational function of the mill
- The final report provides a concise insight for the maintenance team and insurance industry on the level of exposure being presented by any operation relating to girth gear teeth
Benefits
- Creating a girth gear asset management program would deliver consistency, efficiency and standardization.
- We have compiled 12 years of data of gear failure modes in an electronic format. This helps us find the root cause quickly.
- Providing a complete girth gear asset management program.
- Scheduled inspections and maintenance recommendations.
- The program will provide the ability to accurately forecast demand for components in the future.
- Enhance the lifecycle of critical assets.
- Provide electronic reports that can be archived for future reference.
Operation and Maintenance
RCM approach to maintenance, and audits of existing maintenance plans
Field Service
- Girth gear installation oversight.
- Pinion installation oversight.
- Pinion alignments to the girth gear.
Preventative maintenance tasks, tied to specific failure modes.
- Proper alignment.
- Contamination exclusion and removal. (GF 460EP Flushing Lubricant)
- Monitoring and maintaining alignment. (IR Systems)
Predictive maintenance tasks, to detect potential failures
- Inspections per ASTM E-2905.
- Open Gear split joint and structure inspections.
Support Fixed Plant
ASTM E2905 – Standard Practice for Examination of Mill and Kiln Girth Gear Teeth — Predictive Maintenance Process
- Eddy Current Array (ECA) and ACFM are the two electromagnetic methods that are the basis of ASTM E2905
- ECA is the most advanced inspection method for 100% surface coverage for the detection of surface defects on the addendum, dedendum and root of the drive side and non-drive side of the gear flank
- For any cracks found, we use Alternating Current Field Measurement (ACFM) for length and depth
- ASTM E2905 is the only standard available today that specifically addresses inspection of girth gear teeth
- Our database of girth gear failure modes is extensive which allows us to get to the root cause quickly
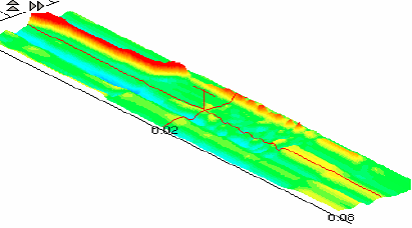
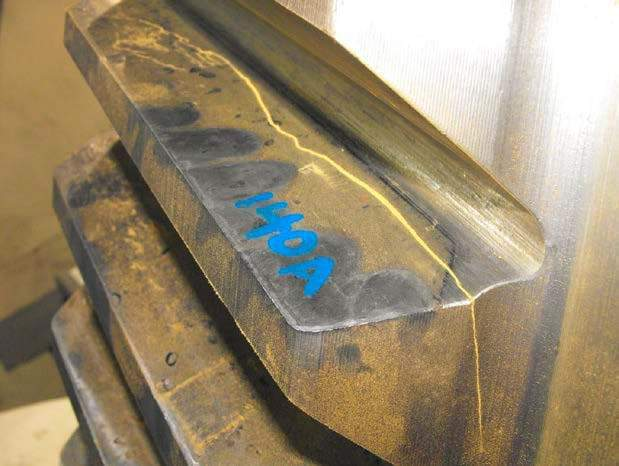
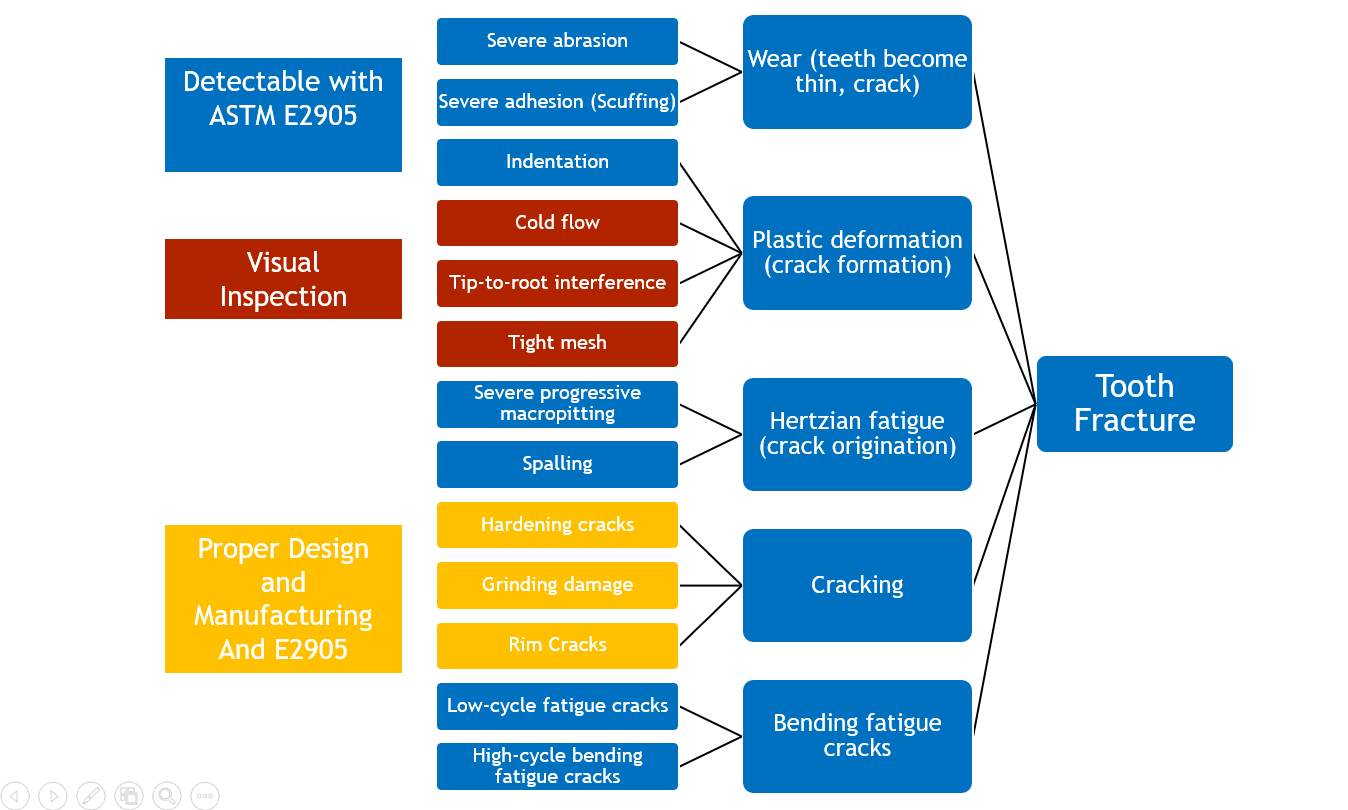
Diagram: Gear Flank Potential Failures and Failure Mode Relationships
A typical NDT company will detect porosity, Inclusions & cracks deep in the structure, using Phased Array. These processes miss the surface where critical failures typically start.
Advanced Pinion Monitoring Program
- The autonomous predicative maintenance solution for monitoring mill pinion condition in real time.
- Visual condition is monitored on programable intervals
- Thermal imaging on programable intervals
- Continuous temperature monitoring
- Mobile application available
- Photographs, thermal images, and data available
- Data is archived for recall
- Inspection doors do not need to be opened, eliminating safety concerns.
Failure modes addressed
- Misalignment
- Wear/abrasion
- Scuffing/adhesive abrasion
- Macro-pitting and Spalling
- Fractured pinion tooth
Determining Root Cause Through Visual Vibration Program
Motion Amplification Technology:
- Motion Amplification® is an exciting technology that allows a vibration analyst to see minute amounts of machine movement that would ordinarily be invisible to the naked eye.
- The results lend themselves to a visualization of the movement. We can measure and quantify any structural assets that a camera can see.
- Motion Amplification is a proprietary video processing algorithm that detects subtle movement then increases that movement to a level visible to the naked eye which enhances the understanding of the components and interrelationships creating the motion.
- Traditional vibration monitoring equipment and strain gauges still are useful in diagnosing concerns with Machinery and structures. Motion Amplification is excellent technology to finding the root cause of an issue.
Reverse Engineering Program – “you keep the drawings”
Reverse modeling refers to the process of analyzing the construction of a product when there are no design documents available from its original production. Reverse modeling serves many purposes including:
- developing a similar or improved product/design
- creating adapters or enclosures to the original product
- reproducing an existing part
- Customer keeps the drawings
Make Global PAM the choice for the physical asset management of critical assets. See our locations

Request a Sample Mill Gear Report


