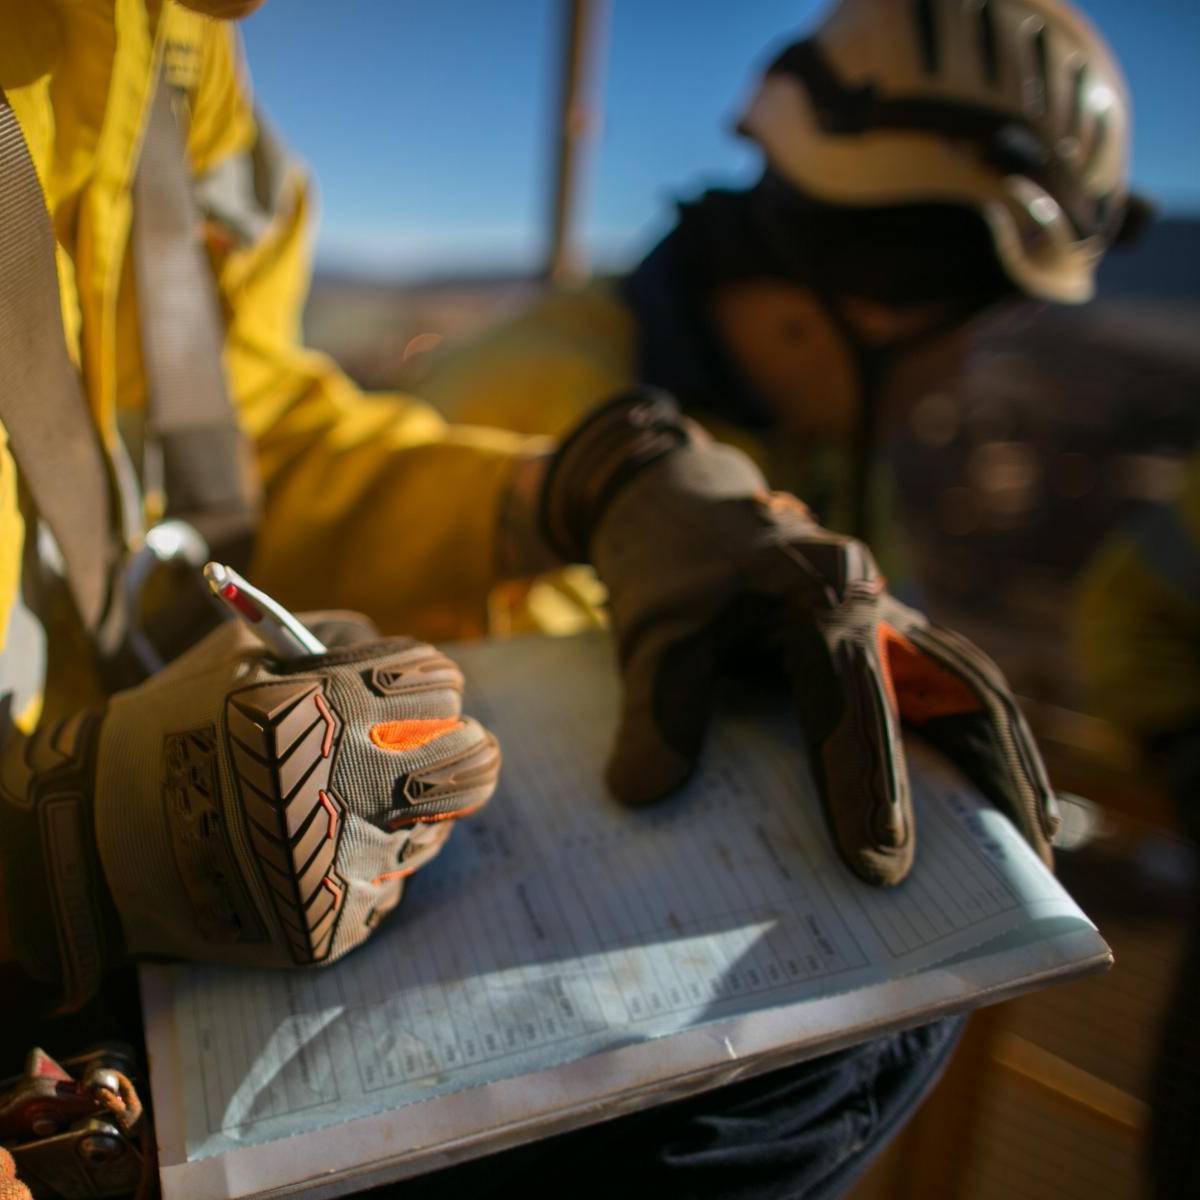
Dragline audits require a robust data collection and examination process to understand operational and production behavior of operational machinery. This data collection and examination process forms a predictive maintenance program as an integral part of an effective overall Reliability Centered Maintenance Program (RCM).
Analysis of the data collected over time, often referred to as “trending”, may show a pattern signifying developing issues.
The objective of conducting dragline audits is to identify and closely monitor any developing issues, before it negatively affects the performance of the machine due to unscheduled downtime (best case) or a catastrophic failure (worst case).


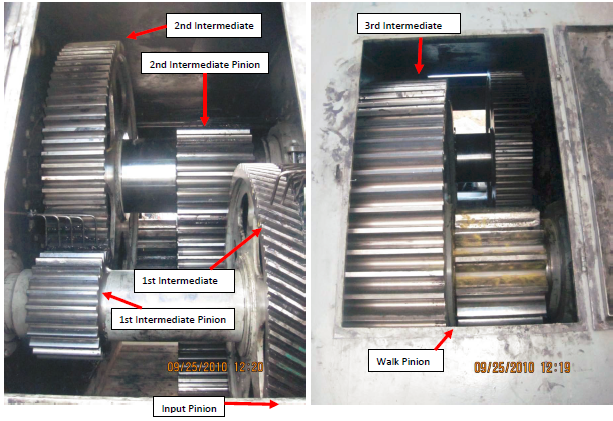
Gear Audits
Our gear engineers are experts in predictive maintenance programs to maximize the life cycle of gearing components. Our database of failure modes allows us to determine root causes quickly and offer solutions to offer risk improvement solutions, reliability and asset optimization.
We provide an onsite failure analysis as per AGMA 1010-F14 of the failure modes present, if any, their severity, and how these might impact the operational function of the gear drives. The final report provides a concise insight for the maintenance team and insurance industry on the level of exposure being presented by any operation relating to dragline gear audits.

ASTM E2905 used for gear audits on draglines provides electromagnetic methods for preparation and examination of gear teeth on dragline gear drives, particularly on the addendum, dedendum, and root areas. This method addresses the need to detect surface breaking flaws electronically and to have the ability to accurately size any surface breaking cracks found on cast and forged dragline gear drives faster and more effectively than other methods.
ASTM E2905 is cleaner, faster, documentable, covers a larger area in less inspection time and greatly improves Probability of Detection than any other traditional Non-Destructive Testing methods today for gearing applications.
The principal advantages of ASTM E2905 are – not only can the discontiuities be charaterized, they can also be sized accurately faster and more effectively than other inspection methods. The whole gear flank, including the root can be scanned in one pass.


