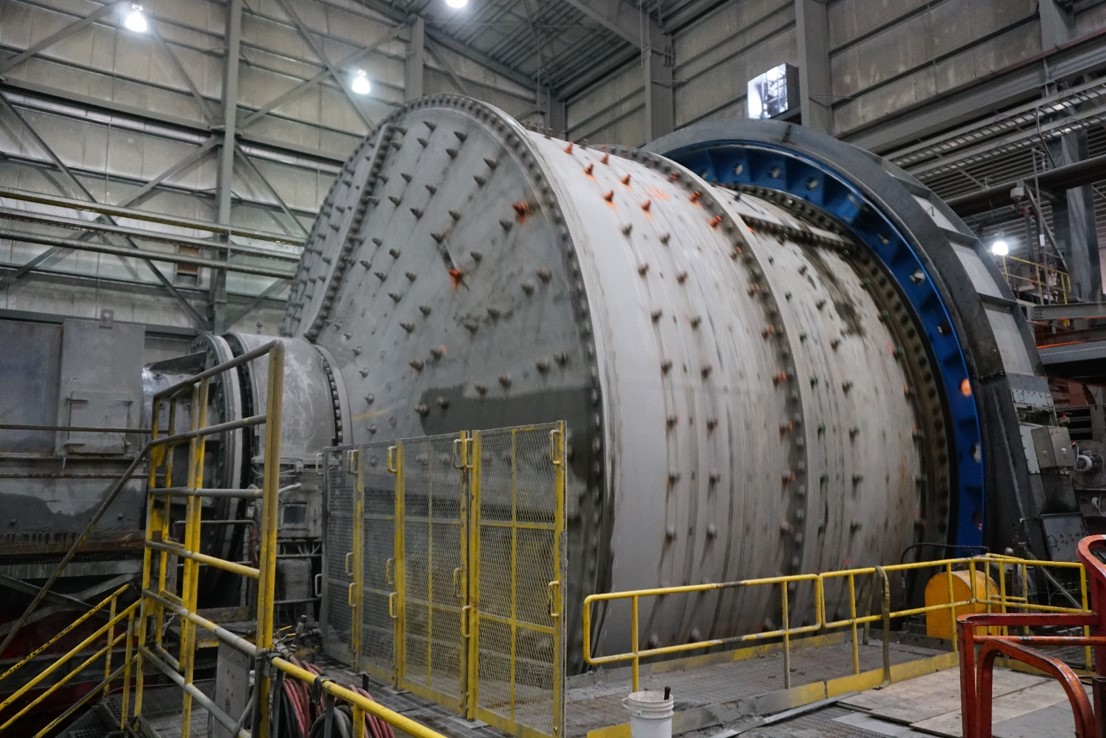
| 34′ X 20′ SAG Mill | |
| Nameplate Mill Power (HP) | 17,000 |
| Motor Power (HP) Max | 8,985 |
| Face Width [mm] | 1,016 |
| Mill Speed (RPM) Nominal | 10.3 |
| Gear Ratio | 20.2 |
| Mesh Per Revolution | 2.0 |
| Operating Hours at First Detection | 35,345 |
| Gear tooth load cycles | 43,686,420 |
March 2016: Detecting Cracks with ASTM E 2905
- A complete cleaning and girth gear inspection was conducted March 15, 2016 per ASTM E2905.
- 4 Cracks were detected and relieved onsite. This is extremely important to stop or slow down the propagation of any cracks detected, extending the PF curve of each effective flank.
- The prior inspection by Global personnel on June 2014 did not detect any cracking.
| Tooth | Total Crack Length [mm] on 3/15/2016 |
| 18 | 67 |
| 111 | 22 |
| 189 | 254 |
| 225 | 67 |
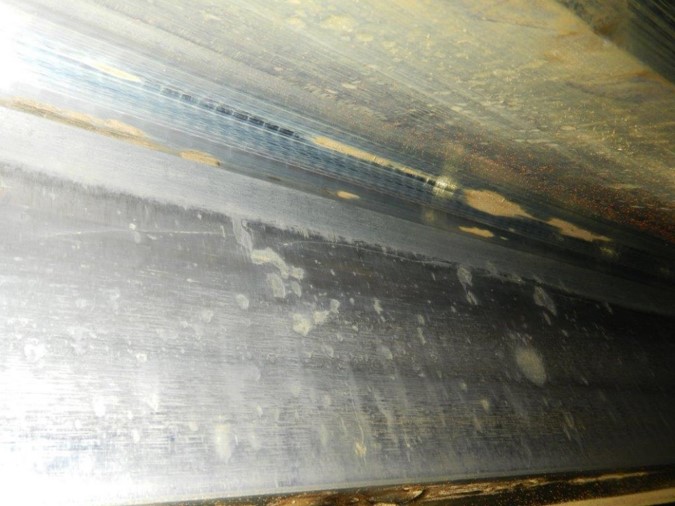
Crack Detection in Tooth 189
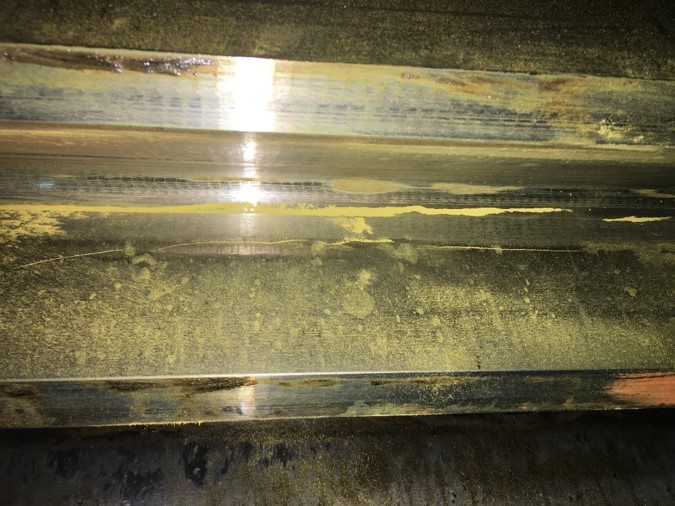
Crack Detection in Tooth 189
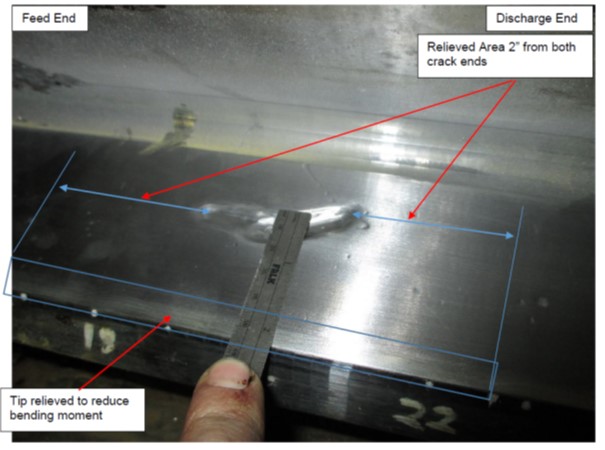
Mitigation Technique
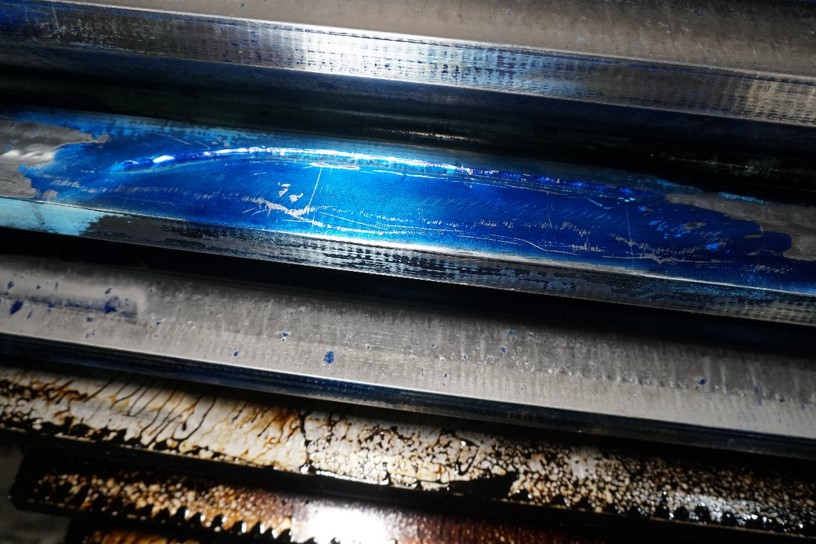
Dykem Blue is used to monitor the contact in the vicinity of the crack.
Monthly Follow up Inspections
- Monthly MPI of the surface
- Monthly Conventional Ultrasonic Inspection of the Depth
- Complete ASTM E2905 Inspection at 11 months, recommended every 4 months for compromised gearing.
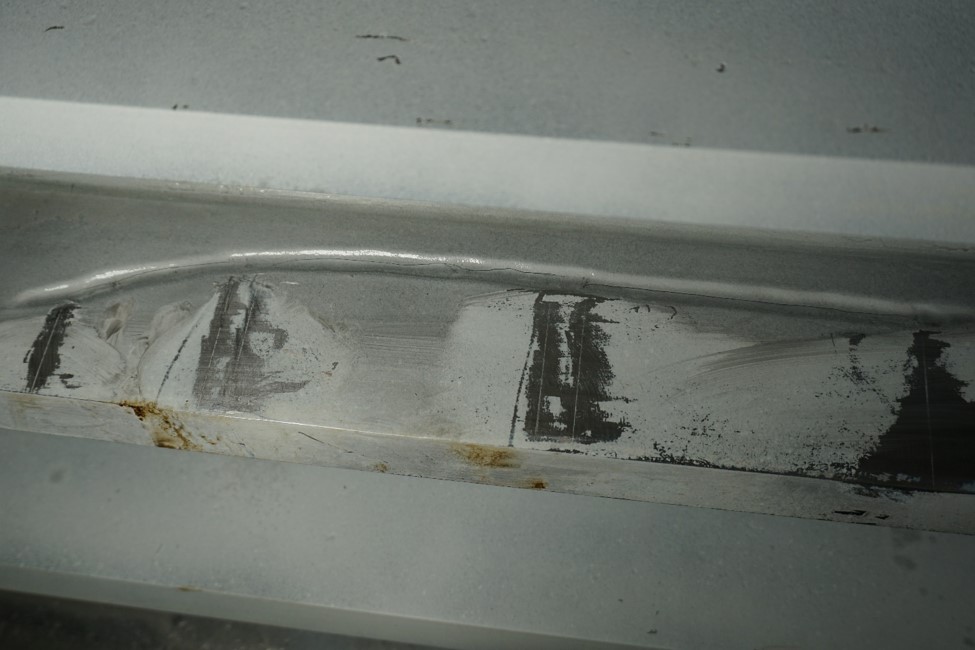
Monthly Follow Up Inspection
![Phased Array Ultrasonic Inspection to Map Depth [NOT for Crack Detection]](https://global-pam.com/wp-content/uploads/2020/04/Phased-Array-Ultrasonic-Inspection-to-Map-Depth-NOT-for-Crack-Detection-1024x534.png)
Phased Array Ultrasonic Inspection to Map Depth [NOT for Crack Detection] Phased Array Ultrasonics is beneficial as a secondary inspection method for mapping out cracks
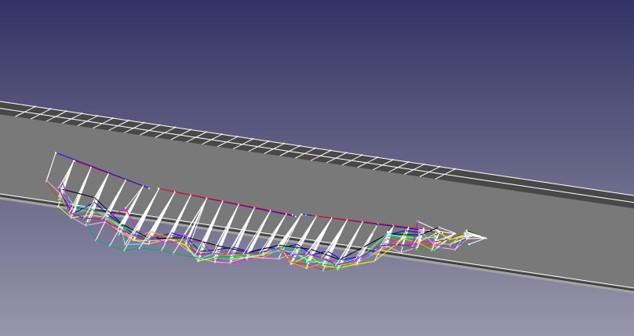
This picture shows an excellent representation of crack mapping using PAUT. We can track growth and orientation of the crack over a period.
February 2017: Additional Cracking Found
| Tooth | Total Crack Length [mm] |
| 18 | 67 |
| 66 | 28 |
| 74 | 19 |
| 79 | 19 |
| 107 | 13 |
| 111 | 51 |
| 130 | 36 |
| 189 | 306 |
| 225 | 82 |
| 253 | 166 |
Surface Crack Lengths Over Time
| Surface Crack Length [mm] | |||||||||||||
| Tooth | 3/15/2016 | 4/13/2016 | 5/3/2016 | 6/7/2016 | 7/12/2016 | 8/9/2016 | 9/7/2016 | 10/12/2016 | 11/22/2016 | 12/14/2016 | 1/17/2017 | 2/15/2017 | 3/14/2017 |
| 18 | 67 | 67 | 68 | 70 | 70 | 70 | 70 | 70 | 70 | 70 | 70 | 70 | 70 |
| 66 | 28 | 28 | |||||||||||
| 74 | 19 | 19 | |||||||||||
| 79 | 19 | 19 | |||||||||||
| 107 | 13 | 13 | |||||||||||
| 111 | 22 | 51 | 48 | 48 | 48 | 48 | 48 | 48 | 48 | 48 | 51 | 51 | 51 |
| 130 | 36 | 38 | |||||||||||
| 189 | 254 | 276 | 286 | 286 | 286 | 306 | 306 | 306 | 306 | 306 | 306 | 306 | 306 |
| 225 | 77 | 77 | 78 | 78 | 78 | 78 | 78 | 82 | 82 | 82 | 82 | 82 | 82 |
| 253 | 166 | 166 | |||||||||||
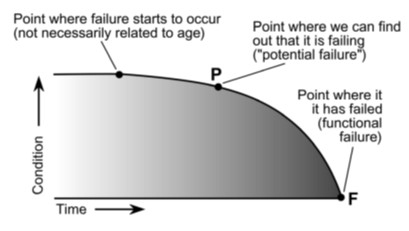
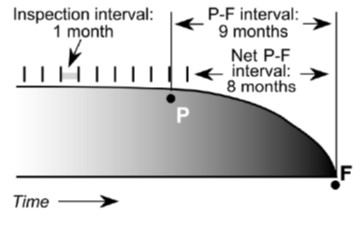
April 2017: Girth Gear Replacement
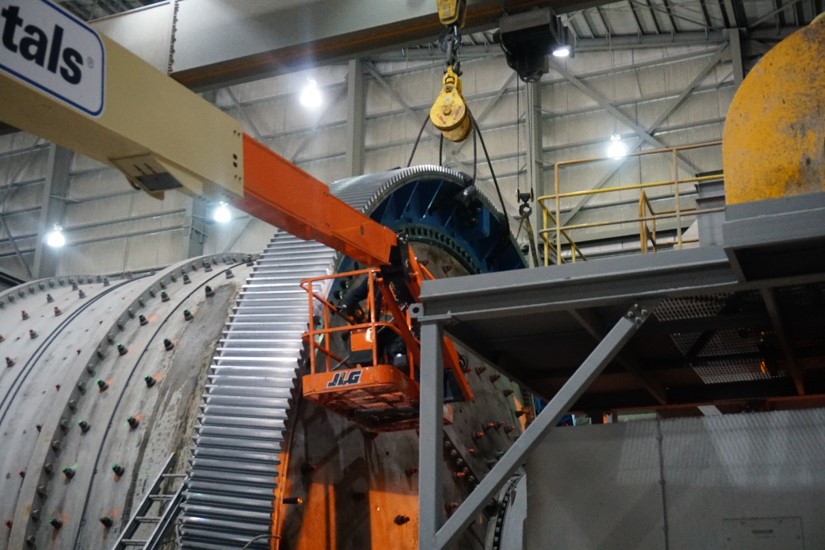
Global conducted all the QA/QC with the manufacturer to ensure the new gear met the appropriate specifications.
Global also conducted oversight of the new 40′ gear installation. Ensuring the gear was installed properly giving it the best chance to meet or exceed its design life of 25 years.


Great, in the past I worked in the same case, I use conventional UT, saludos
The problem with UT is it can miss surface indications. We see this all the time. Its a good method for measuring depth of cracks.
a well done job
very intersting case study… i have question….what a main and important criteria to replace that gear? pls give me adv. tq..